Inventor
|
Autodesk Inventor is computer program application where with using 3D, you can do mechanical design, simulations, visualizations and documentations. For our purpose in IDEA class, we used inventor with 2D widget sketches we drew out beforehand, then made them 3D widgets in Inventor, which allowed us to 3D print afterwards. You can also do sketches with Inventor, and create dimensions around them, which would be helpful when you're trying to make something like a birdhouse or even something larger like a house. Inventor has enough features to please anyone with an imagination!
|
Widget Sketches
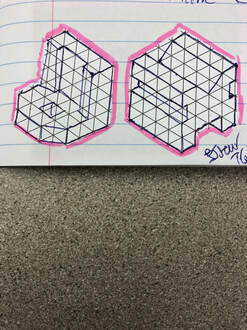
One of my sketches before it went into Inventor
One of my sketches before it went into Inventor
How to Create a Widget in Inventor
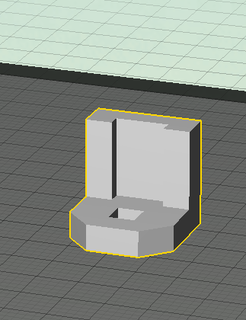
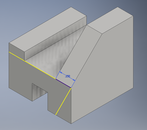
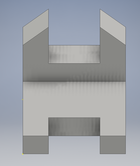
Widget #6
Widget #6
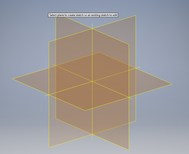
When starting my widget, first click on New Part, Start 2D sketch, then chose the XY Plane.
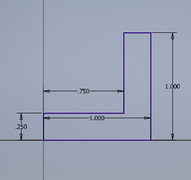
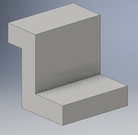
Then, using the dimensions of your widget, sketch out an L shape, therefore you would have to make the least amount cut outs after you extrude your widget. Also note that it's scaled so that one side of the triangle is equal to 1/4 of an inch and each widget is a 1x1 inch cube.
Next, click on finish 2D sketch, and then proceed by clicking on extrude and typing in 1 inch.
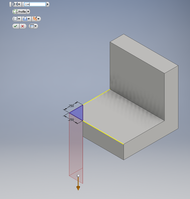
After that, cut out the corners of the widget using triangles. Use .25 x .25 triangles on each side, and make sure when extruding that the it's pointing down like in the image on the left so that it actually cuts out.
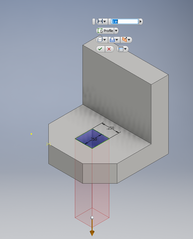
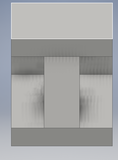
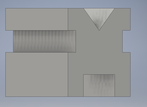
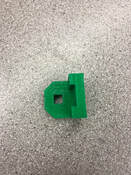
Once done with that, use start 2D sketch in the upper left hand corner to cut out a .25 x .25 cube in the middle of the widget. Extrude through the bottom as illustrated in the image. Make sure to erase all lines except the cube shape, otherwise your widget will get messed up pretty badly.
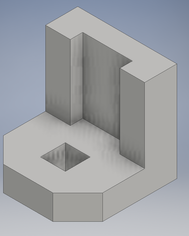
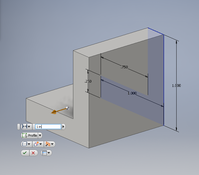
Finally add .25 x.125 rectangles on each side of the front face. Use start 2D sketch and add them to the widget and extrude them facing upwards (so you can see them) by .75 inches. If your widget looks like the one on the left, then you're finished.
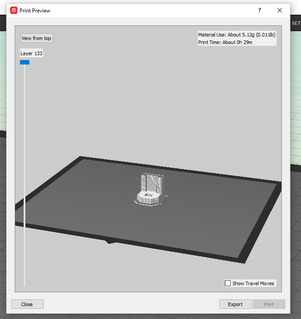
Makerbot Screenshots
|
|
Other Widgets I Made in Inventor
Widget #1
Widget #2
Widget #3
Widget #4
Widget #5
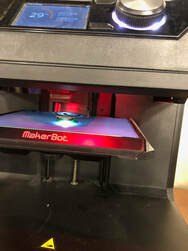
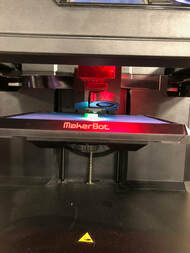
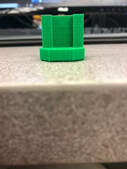
Pictures of Widget While 3D Printing
|
|
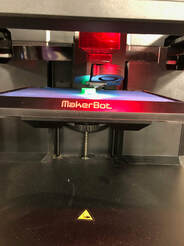
|
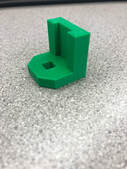
Finished Product
3D View Front View Side View Top View
3D View Front View Side View Top View
|
|

|
|
What I learned while using Autodesk Inventor was basically everything. Last year we used Inventor, but I forgot how to do it since then so this year was going all the way back to square one. The only I remembered from last year was how to create a 2D sketch, which is pretty basic. So what I learned was how to extrude an object and make it 3D. I also learned how to cut out parts in an object which is how I was able to make the widget shown above. Plus, using Makerbot was a first for me, so I learned how to use that 3D printing website as well, though the direction was pretty self explanatory. All in all, while using these different softwares, I learned a lot with technology in which I had zero clue on how to use them before I stepped foot in the IDEA classroom.
