Documentation
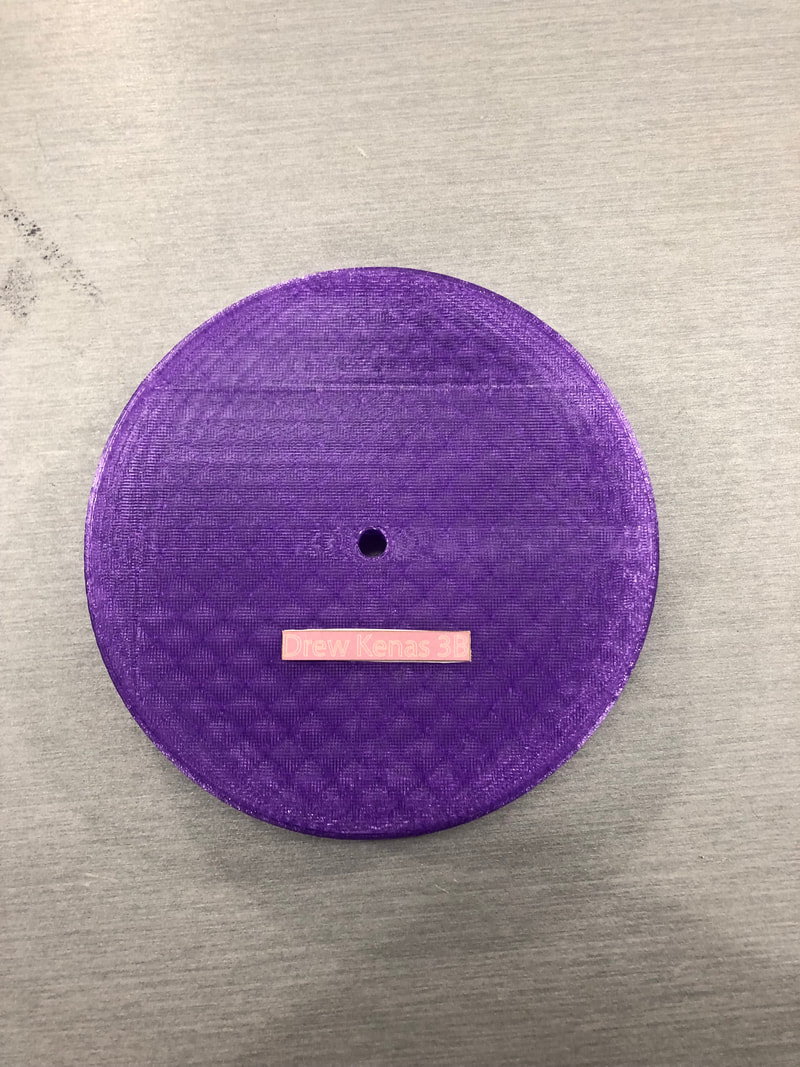
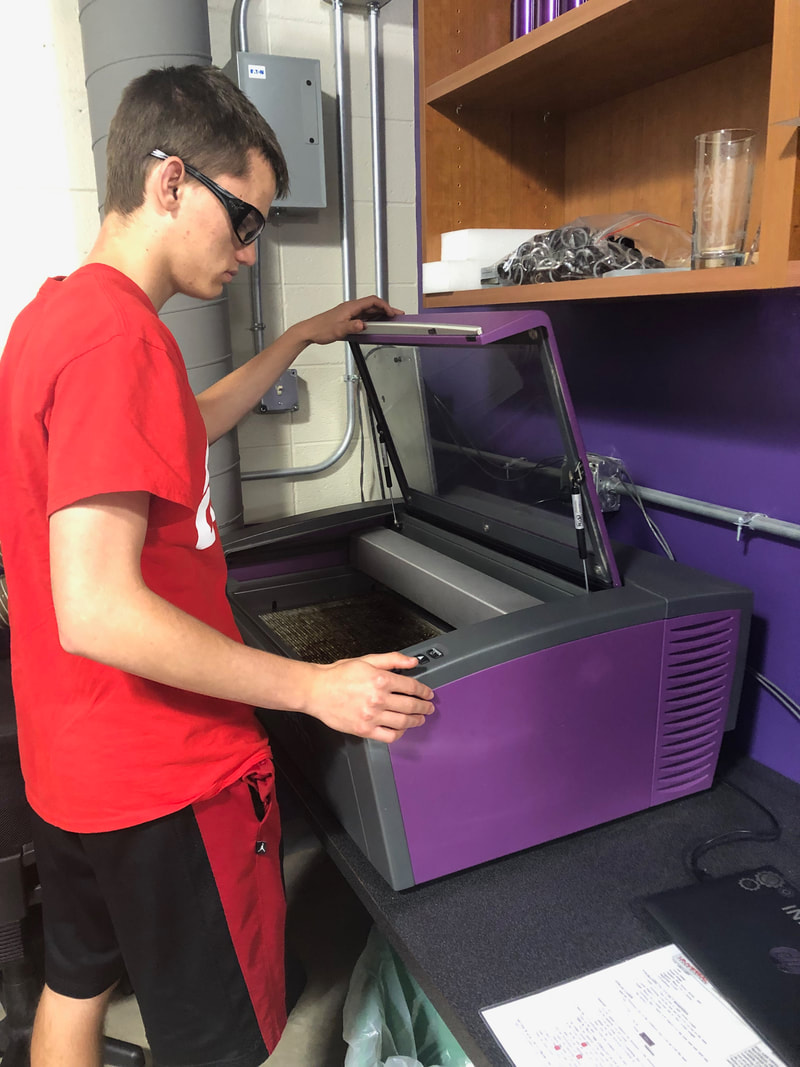
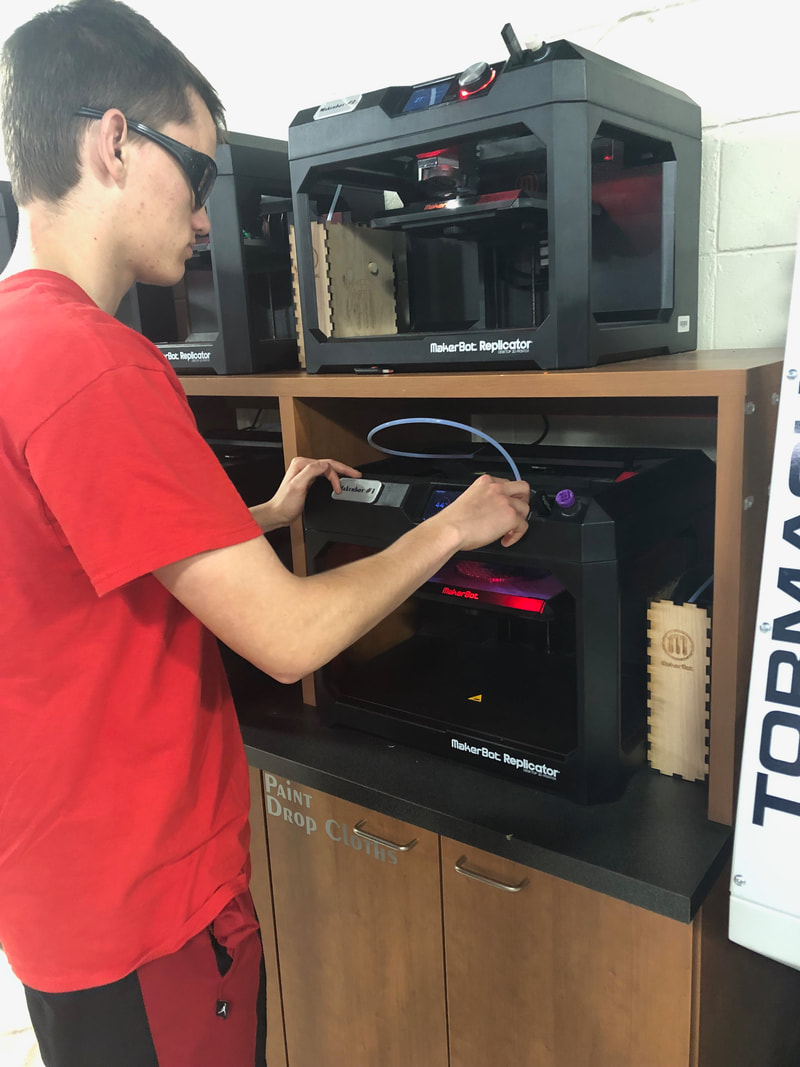
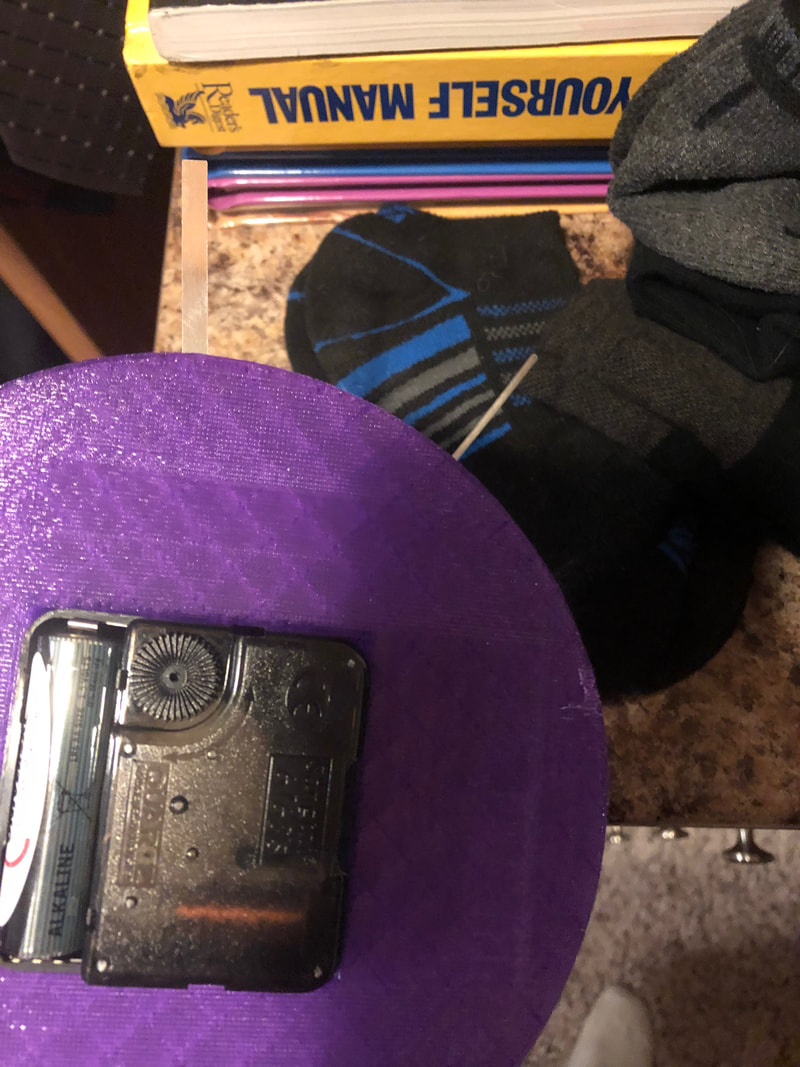
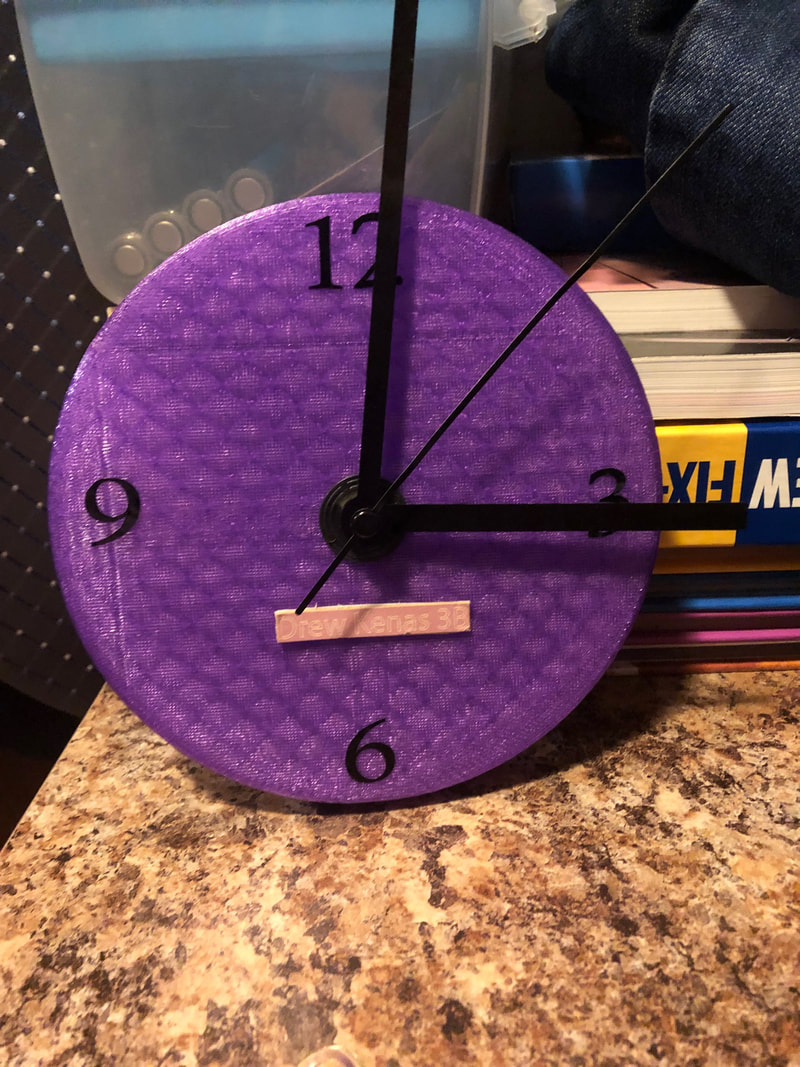
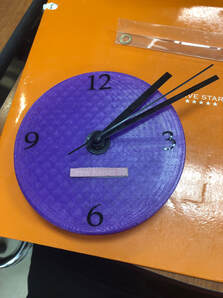
The goal of the final project was to make a clock body and numbers of a clock while only given a clock mechanism. Plus, you had to use three different machines in the innovation center. Since I only had two class periods left, I decided to keep it pretty simple. Using Inventor, I first 3D printed the body with purple coloring to represent Waunakee. Then, I used the numbers 3,6,9 and 12 on the Vinyl to represent the numbers on the clock. For the final machine, I used the laser machine to engrave and cut out my name and class hour on my clock with mat board, then using double sided tape, I put it on the body. For the stand to hold my clock, I'm using two mason jars to hold it up because I didn't have enough time to make one and I already met the requirements by using three of the machines in the innovation center. As for guidelines to help me out, I had past sheet from throughout the year, plus Mrs. Proctor and Mr. Willauer helped me out as well.
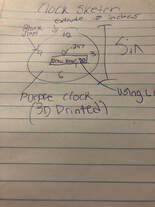
Sketches
Recipe
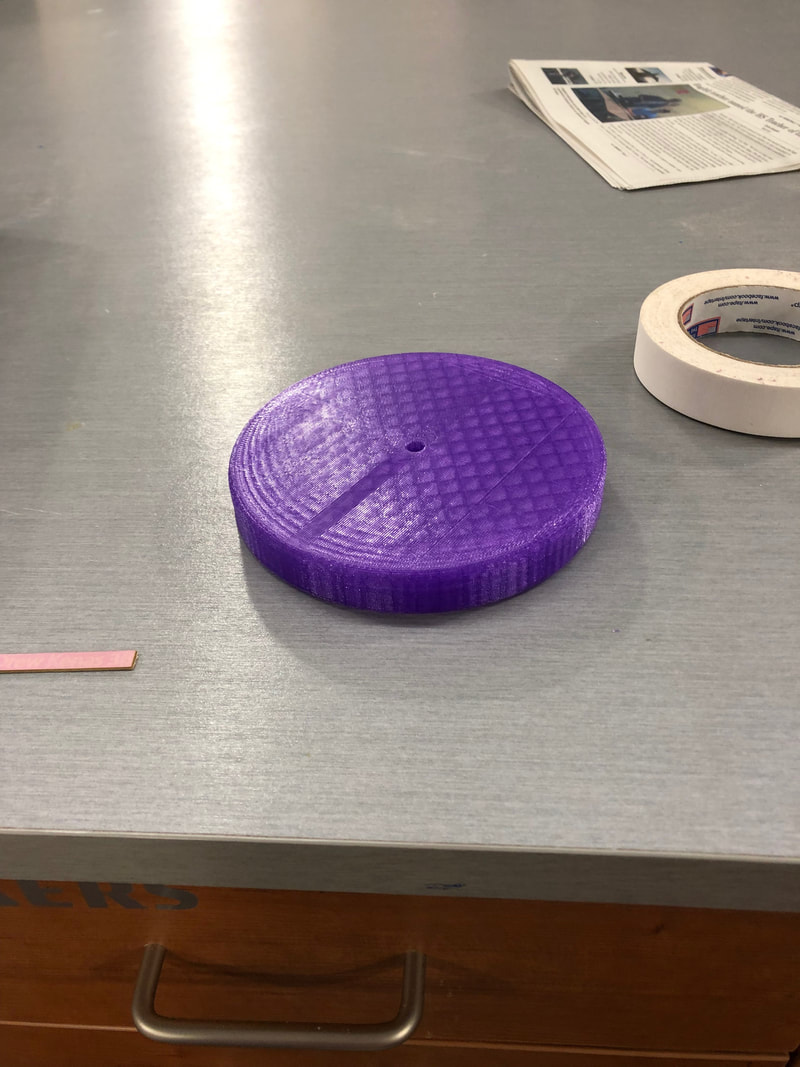
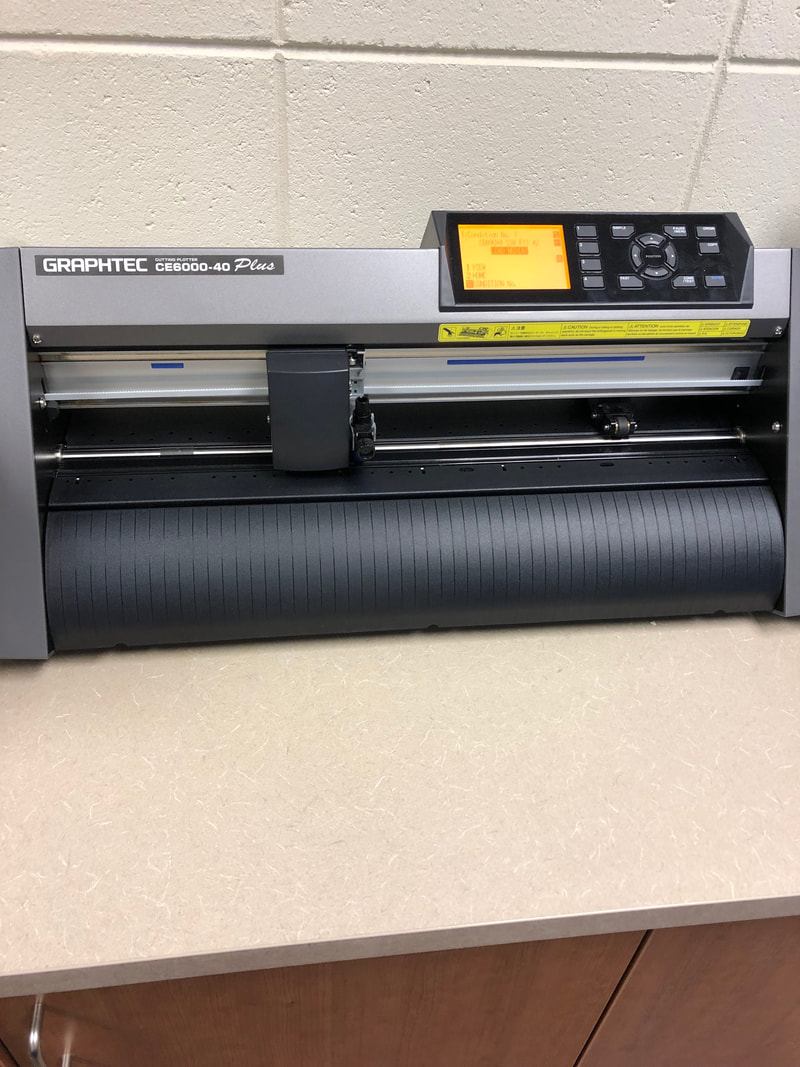
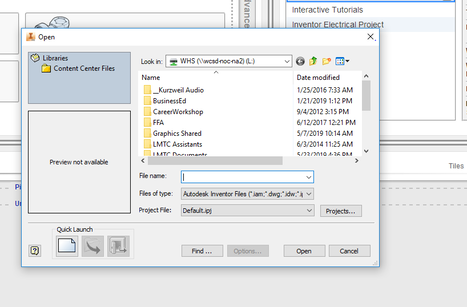
Once a rough blueprint was done in my designer notebook, it was all work from there. I hopped on Inventor and quickly did my clock body, making a diameter of 5 inches, then extruding it .8 inches. Next, I made a hole that was .297 inches in diameter for mechanism to fit through. Also for mechanism, I cut out a square using the extruding tool that 2.2 x 2.2 inches. Once completed, I saved it to my flash drive, went down to the innovation center and printed it out on the 3D printer. While the body was printing, I went to Illustrator and got my name for the clock done. Thankfully, I still had my name saved for the brake bracket and maze, so I just went to laser and made light work of that. the dimensions for that were 1.5 x .25 inches. When the body was done printing, I used double sided tape to put it on my body as stated before. Finally came the Vinyl on Illustrator. I typed in 3,6,9 and 12, created outlines and saved it to my flash drive. Went to the Vinyl cutter, choose black coloring and cut it out. Using transfer tape, I transferred my numbers onto the clock and that was it. I got the mechanism from Mrs. Proctor, installed it in the back of my body, then added the hands that were provided as well. The final project was complete with a functioning clock.
Photos Working on Project/Setting up Equipment


Digital Documents
Project doing what intended to do


Final Product
Summary
As second semester and the school year come to a close, I come to realize how far I've come in this class. From having zero clue on how to work any of the machines in the innovation center, to now knowing how to work a couple of the machines, I'm pleased with how far I've come. Through this final project, I was able to illustrate all of the skills I have gained well using certain machines throughout the semester. During this project and the whole semester there have struggles, some small, some much bigger. But something that's all those struggles share is an option. To give up, or to put on your hard hat or go to work. If there's one thing that I've learned from this class is that even through times when it's the most overwhelming, there's is always someone there who is there to help you out, even if you never think there is.
